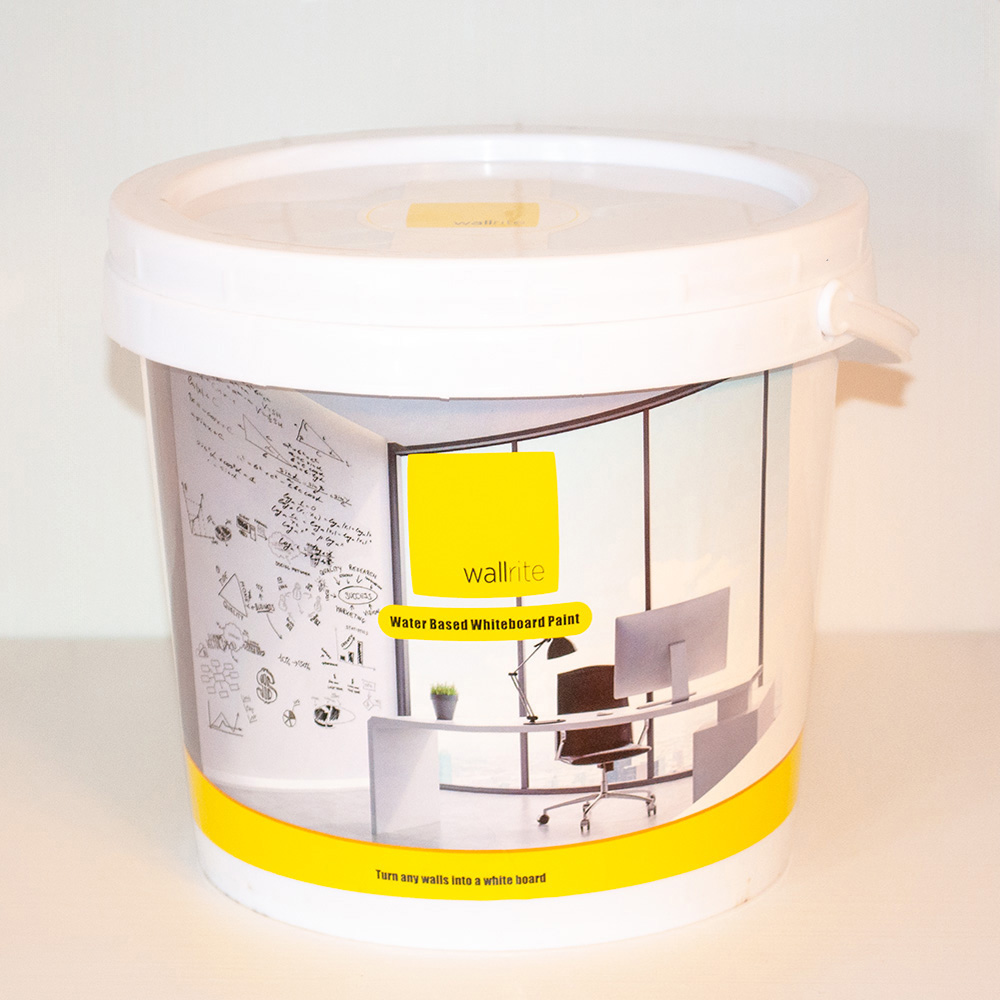
Wallrite Transparent Whiteboard Paint
Discover the enchantment of Wallrite Transparent Whiteboard Paint. Apply to your prepared surface, let it cure, and instantly unleash your creativity
Watch this product and we will notify you once it is back in stock.
Wallrite Transparent Whiteboard Paint
Description
Wallrite Transparent Whiteboard Paint
Wallrite Transparent Whiteboard Paint is completely see-through and includes a components that makes the surface durable and resistant to impacts.
Varieties
- S covers 1.5 sqm
- M covers 4.5 sqm
- L covers 10 sqm
- XL covers 40 sqm
Features
This is a water-based two-component paint for optimal curing and long-lasting durability, with a very mild scent. However, it's crucial to read and follow the provided instructions when it's time to apply the paint.
Tips & Tricks
Create a Magnetic Receptive Whiteboard by starting with Wallrite Magnet Paint or if you prefer Wallrite Magnetic Wall covering material. This black paint or wallpaper contains about 70% metal powder, making it heavy and magnetic receptive. As the metal flakes, using the paint, can result in an uneven surface, it's essential to sand the dried Magnet Paint to achieve the desired smoothness for your whiteboard. You can then choose to directly apply Transparent Whiteboard Paint over the smooth black surface. This will give you a black, magnetic whiteboard. If you prefer a color other than black or white, start by painting over the black surface with an opaque color of your choice. Once dry, apply the Transparent Whiteboard Paint for the desired effect.
Contents
- Aluminum Bag A
- Aluminum Bag B
- Bucket
- Mixing Stick
- Masking Tape - M & L sets contain 2 rolls
- Gloves
- Measuring Tape
- Whiteboard Markers - M & L sets include 8 pens
- Cleaning Sponge
- Roller
- Data Sheet & User Manual
Instructions
- Clean
Begin by cleaning the smooth surface from dust and dirt. Allow it to dry completely. If the surface has bumps or holes, remove any nail heads or similar objects. Fill in holes with filler, and sand the surface until it's as smooth as you desire for your whiteboard.
Mix components A and B
Components A and B are contained in aluminum packages. Start by pouring Component A into the provided bucket, followed by adding Component B to the same bucket. Mix the components until the paint is smooth and free of lumps. This might take 2-3 minutes due to the paint's thickness. Do not dilute the whiteboard paint with water or any other substance, as it will compromise its quality.
Roll on
Dip the roller into the bucket, ensuring it's properly coated with the paint. Apply the paint to the surface using a roller or spray in two coats. In the first coat, cover the surface with ⅔ of the paint.
- Spray Painting Ideal for Large Surfaces Spray Painting
- Wait for Two Hours!
For the second coat, roll or spray the surface using the remaining ⅓ of the paint.
- Usage
Wallrite Whiteboard Paint is dry after 2 hours, but you cannot start using the whiteboard surface until 3 to 5 days have passed since the last coat, as the paint needs to fully cure.
- Write, Draw and Erase
Most whiteboard markers available in the market work excellently. Erasing is easiest using either a microfiber cloth or a miracle eraser.
Maintenance
At Wallrite, we believe that a microfiber cloth is the ultimate erasing tool. That's why we've crafted our own, of the highest quality. With it, effortlessly wiping away your writings and drawings becomes a breeze. If text and drawings have been on the board for a while, it's helpful to slightly dampen the Microfiber cloth or Miracle Eraser with clean water and gently rub. AZOR Cleaning Solution is antibacterial and superb for frequently used surfaces, especially in high-traffic or shared areas. Given the importance of hygiene, this accessory is a must-have to prevent the spread of germs.


